Well Hello Hi to the post I promised I would have up on Sunday, all I can say is video editing is an absolute chore when your SD card swipes and you have to record from scratch! It's the worst thing that can happen in blog world, but let's move on and enjoy the post already, because Lord knows I am so happy it's finally here and I can share it with you!
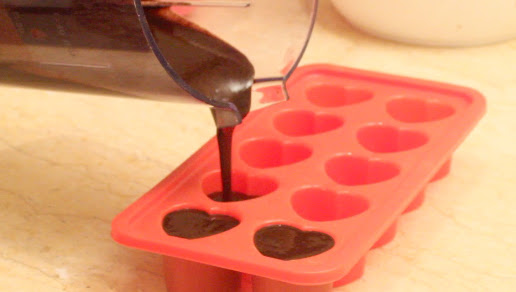
Following my Post and re-discovered love for Ayurveda and Ayurvedic products I decided to whizz up a late Valentines Day treat and easy Haircare Product storage solution.
I won't bore you with the ins and outs of why [pro's and con's] and how to incorporate Henna into your regime, I'll let my Prelude Henna for Hair 101 Video do all of the talking!
So now onto a mini Pictorial and Video on how to get your Mixtress on Henna Style!
Enjoy and let me know what you think... Yay or Nay for Henna ?!!
Ingredients:
60g Cocoa Butter
120g Extra Virgin Coconut Oil
45g BAQ Henna
60g Hibiscus Powder
60g Brahmi Powder
60g Shikakai Powder
Product Suppliers:
Powders - SheaButterCottage
Butter - Ghana
Oil - Holland & Barretts
Heart Silicone Ice Cube Tray - Morrisons
Application tips:
- Melt cubes with a very tiny amount of hot water to form thick paste. Mix with fave DC and apply -
or
or
- Slightly melt cubes to form thick paste and mix with coconut milk and apply -
- Depending on the results you want leave in from as little as 20 mins to an hour under steam cap.The longer the more visible the colour effects! -
 |
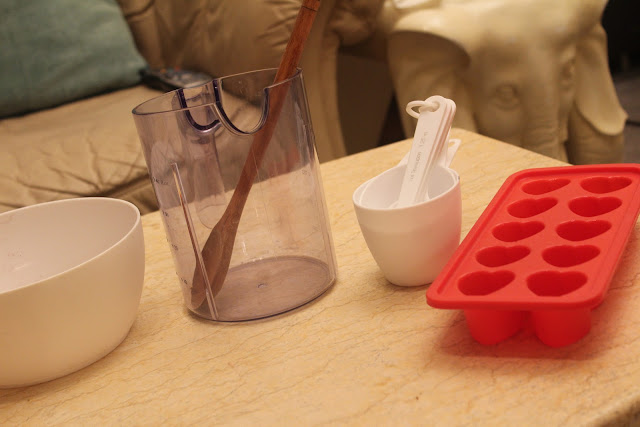
| Tools : Mixing Bowl, Jug, wooden Spoon, Measuring Cups & an Ice Cube Tray |
 |
| End Result!!! |
Check out the Tutorial Video for more!
Avec amour...
Fiona


